How to Use Jump Starters: A Professional Step-by-Step Guide
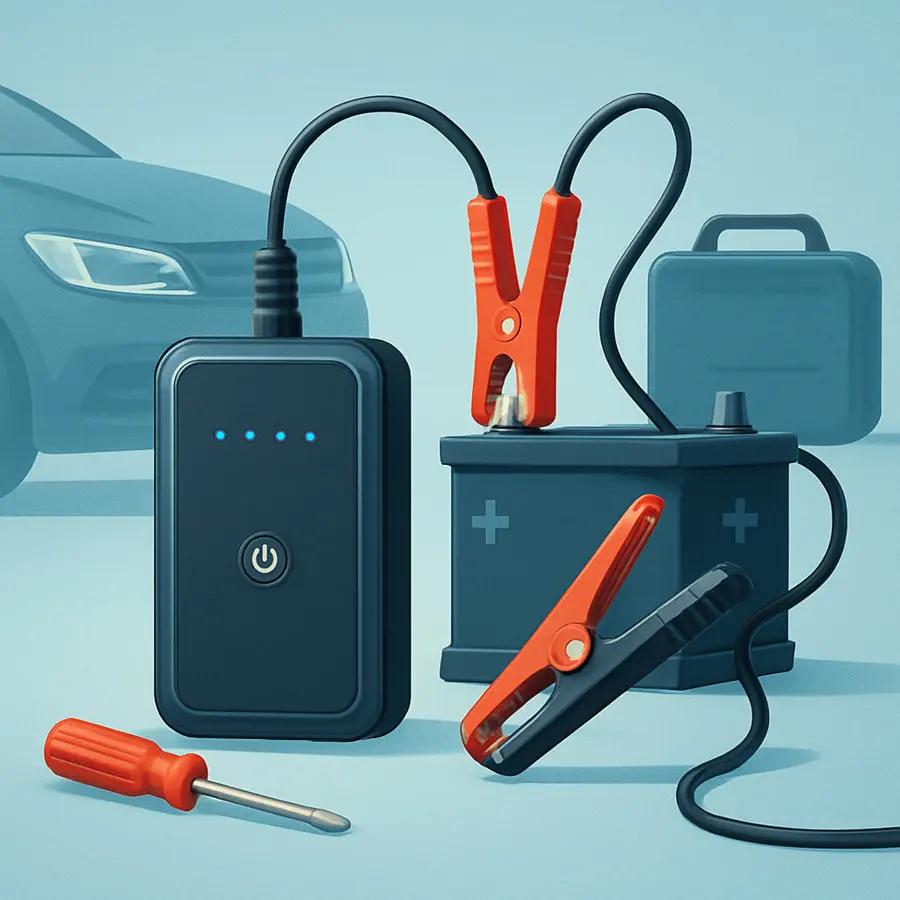
A portable jump starter can help crank a vehicle when the starting battery is too weak, but safe use depends on the exact vehicle and pack. Terminal locations, connection points, voltage, battery chemistry, indicator lights, crank limits and override controls vary. This guide provides a careful sequence for a typical compatible 12-volt automotive application; the vehicle owner’s manual and jump-starter manual always take priority.
Quick Answer
Stop and inspect first. Confirm that the jump pack is charged and approved for the vehicle’s battery voltage, chemistry and engine. Turn the vehicle off, identify the manufacturer-specified connection points, attach the clamps in the exact sequence in the pack manual, verify a normal-ready indication, and make only the permitted starting attempts. After the engine starts, disconnect in the documented order, recharge the pack and have repeated battery failure diagnosed.
See the jump starters collection for current products, then read the exact manual before an emergency rather than learning the controls beside a disabled vehicle.
Before you connect anything
Move the vehicle to a safe position if possible, engage the parking brake, place the transmission in Park or Neutral as directed, and turn off the ignition, lights, climate controls and accessories. Keep flames, sparks and smoking away from the battery area. Remove conductive jewelry and keep loose clothing away from moving engine components.
Do not proceed if the battery is cracked, leaking, swollen, frozen, unusually hot or giving off a strong odor. Stop if cables are damaged, terminals are loose or heavily compromised, or the reason for the no-start condition is unknown. Roadside assistance or qualified service is safer than experimenting with a damaged battery or electrical system.
Step 1: Confirm the electrical system and battery type
Read the battery label and vehicle manual. Most passenger vehicles use a nominal 12-volt low-voltage system, but that is not universal. Classic vehicles, powersports equipment, hybrids and electric vehicles can use different arrangements and procedures. Never connect a 12-volt-only jump pack to a system the manufacturer has not approved.
Battery chemistry matters too. A pack documented for lead-acid starting batteries may not be approved for every lithium battery. NOCO’s current GB40 support material, for example, describes that model for 12-volt lead-acid batteries and says not to use it to jump-start 6-volt or lithium batteries. Treat this as GB40-specific documentation and check the manual for the exact pack in hand.
Step 2: Check jump-pack charge and condition
Inspect the enclosure, cable insulation, clamp jaws and connector. Do not use a pack that is swollen, cracked, wet, corroded or otherwise damaged. Check the state-of-charge indicator. A pack that worked months ago may have self-discharged or been exposed to storage conditions outside its permitted range.
If the pack is low, recharge it with the cable and power source specified by its manufacturer. Charging a damaged lithium pack or placing it on a combustible surface can create additional risk. Replace a unit that shows damage or cannot hold charge rather than depending on it for roadside use.
Step 3: Locate the approved connection points
Open the vehicle manual to the jump-starting section. Some vehicles direct users to remote positive and negative points under the hood rather than directly to the battery. The negative connection may be a designated chassis ground away from the battery. Do not choose a convenient unpainted bolt unless the vehicle documentation identifies it as suitable.
Identify positive and negative markings in good light. Clean only as the vehicle and battery guidance permits. If terminal identity is uncertain, stop. Never allow the positive and negative clamps to touch each other once connected to a powered device.
Step 4: Attach the clamps in the documented sequence
Many portable packs instruct the user to connect the positive clamp to the approved positive point and the negative clamp to the approved negative or ground point before powering the pack. Other designs use a separate clamp module or connector. Follow the exact sequence on the pack, in its manual and in the vehicle documentation.
Make sure each clamp has firm metal contact and cannot be pulled into a belt, fan or other moving component. Watch the pack’s indicators. A reverse-polarity light, error tone or absence of the normal-ready signal means the connection must be corrected before attempting to start.
Step 5: Power on or arm the jump starter
Some packs become ready automatically; others require a power button. Confirm the normal status shown in the manual. Do not press an override, boost or force-start control simply because the pack did not arm. A failure to detect the battery can indicate very low voltage, poor contact, reversed clamps or an incompatible or damaged battery.
Manual override is an advanced exception, not the normal sequence. On the NOCO GB40, the manufacturer warns that manual override disables safety protection. When an exact device offers such a mode, use it only if its manual expressly permits the situation, polarity has been independently confirmed, and all stated precautions are understood.
Step 6: Make a controlled starting attempt
Move clear of the engine bay and attempt to start the vehicle for no longer than the pack and vehicle manuals permit. Do not hold the starter continuously in an effort to force a result. If the engine does not start, wait for the required rest period before another allowed attempt. Repeated cranking can overheat the starter, cables or jump pack.
A current 2500A-labeled jump-starter listing on Amazon and an A9 jump-starter listing illustrate that packs use different controls and published ratings. Verify current seller claims against the included manual; the headline current figure does not determine the safe crank duration.
Step 7: Stop if the expected result does not occur
If the starter does not turn, turns very slowly, or the pack reports a fault, switch the pack off as directed and reassess. Check only the items that can be inspected safely: clamp contact, pack charge and documented compatibility. Do not keep repeating attempts or bypass protection. The problem may be a failed battery, loose cable, starter issue, immobilizer, fuel problem or another fault unrelated to battery state.
If the engine turns normally but will not run, more electrical current is unlikely to solve the problem. Seek appropriate diagnosis. Smoke, excessive heat, arcing or unusual odor requires immediate shutdown and safe disconnection if the manual permits it.
Step 8: Disconnect after a successful start
Follow the pack and vehicle sequence. This commonly includes powering the jump pack off and removing clamps in the reverse order, but the exact documentation controls. Keep the clamps separated and away from moving parts. Replace protective covers and secure the cable assembly before closing the hood.
Do not leave the pack connected while driving. Ensure no cable or tool remains in the engine bay. If a battery or charging-system warning stays illuminated, or the vehicle runs abnormally, shut down in a safe location and obtain service.
Step 9: Address the cause, not only the symptom
A jump start does not prove that the battery is good. The battery may have been discharged by a light left on, repeated short trips, long storage, a parasitic load, poor connections or a charging-system problem. It may also be aged or internally damaged. Have repeat failures tested rather than relying on the jump pack every morning.
A compatible car battery charger can restore or maintain an appropriate battery over time, but it serves a different function. Read the charger-versus-jump-starter comparison before deciding what the garage needs.
Step 10: Recharge and store the pack correctly
Recharge the jump starter after use and on the interval specified by its maker. Store it within the permitted temperature range, protected from moisture, impact and metal objects that could contact the clamps. A vehicle cabin or trunk may exceed safe storage temperatures, so the manual—not convenience—should decide whether the pack remains in the car year-round.
Record a recurring check on a calendar or maintenance list. Confirm the charge indicator, inspect the enclosure and cables, and replace the pack when the manufacturer’s service guidance or its condition requires it. Emergency equipment is useful only when it remains ready and undamaged.
Choosing a pack without relying on one number
Match the pack to the manufacturer’s supported engine size, fuel type, system voltage and battery chemistry. Also compare clamp reach, cable flexibility, cold-weather guidance, charging connection, indicator clarity and warranty terms. Peak-current figures are not standardized enough to serve as the only comparison.
Combination packs may add a light, USB output or air compressor. Extra functions can be convenient, but they add controls and battery demand. A current jump-starter and compressor listing and another combination-pack listing can be compared on Amazon for live dimensions, package contents, seller and current specifications.
Special cases that need the vehicle manual
Hybrid and electric vehicles
These vehicles may use a low-voltage auxiliary battery for control systems, but their traction batteries are high-voltage systems. Follow the exact vehicle manufacturer procedure and never connect a consumer jump starter to a high-voltage battery.
Side-post, concealed or remote terminals
Use only the designated points and approved access method. Improvised adapters or poorly seated clamps can produce a weak or unsafe connection.
Very low battery voltage
An automatic pack may refuse to arm. Do not assume this is a device failure. Follow the troubleshooting section, and avoid manual override unless the precise model instructions support it and all reduced-protection warnings can be observed.
Frequently Asked Questions
Which clamp goes on first?
Follow the exact pack and vehicle instructions. Many products call for positive first and then the designated negative or ground point, but a general sequence should not override model-specific documentation.
How long should I crank the engine?
Only for the maximum time allowed by both manuals, followed by the specified rest interval. Continuous or repeated cranking can overheat equipment and damage components.
Can I jump-start in the rain?
Do not assume the pack is weatherproof. Check its ingress and operating guidance, protect connections from water, and postpone use or obtain help if conditions cannot meet the manual.
Does a successful jump mean the battery is fixed?
No. The jump pack supplied starting assistance. The vehicle battery may still be discharged or failing, and the charging system may need testing.
Can I use a jump starter as a battery charger?
Not unless the manufacturer explicitly provides that function. Most portable jump packs are designed for short starting assistance, not controlled battery charging.
Final Verdict
Safe jump starting is a verification process: confirm compatibility, inspect the equipment, use the designated vehicle points, obey status indicators and crank limits, then diagnose repeated failure. Practice locating the manuals and connection points before an emergency. The garage equipment and car care hub links jump packs with the rest of a practical vehicle-support setup, while portable air compressors cover a separate roadside tire-support need.